A few months ago I bought a used crib on Craigslist that has an attached changing table, similar to this:

Since the changing table is only as long as the crib is wide, it is a nonstandard size. It came with the changing table pad, but the seller had lost the cover, so I was SOL. I decided to make them myself.
We also bought an Arm's Reach Mini Bassinet/Cosleeper. (craigslist too, of course.)

This nifty little contraption looks and folds up like a small pack n play, and can be used with both sides up as a stand alone bassinet (travel anyone?) or with one side down strapped to your bed for a safe way to cosleep with your baby without losing space in your own bed, a necessity for us since we only have a full and I already fight for space at night! However, the little sheets are really expensive at about $15 at target, and only come in boring colors like neutral and tan. Ick. Other people recommended using a king sized pillow case and then tucking in the long ends under the foot of the mattress, but I was less than enthusiastic about this half-cocked approach (which likely wouldn't get me a cute design, either). So, I decided to make them myself.
At first I thought I would use the same basic "pattern" for both - make it like a fitted sheet. However, after looking at the construction of the existing sheet for the cosleeper (thank goodness it came with at least the one), I decided to mimic that approach for it, and then do a normal "fitted sheet" thing for the changing table covers. As usual, I neglected to take pictures during construction. I will get better about that, I promise!
Usually when I decide to make something out of the blue, the project is much more complicated that I think and I somewhat regret it by the end. This was NOT one of those projects. It is just as easy and quick as it looks. Hooray!
For this post I will focus on the "fitted sheet" pattern. I will post the other when I make the second one so I can show photos... Otherwise its just too hard to explain. Note that this "pattern" can be used to cover anything that is rectangular, so a crib sheet, a table cover, a seat cover, just about anything is fair game.
To begin, measure the item you are covering. I will just refer to this as the mattress since that is what I used. The top of my mattress was 22"x28". Then measure the depth of the mattress. Mine was about 1" deep. Since the cover has to reach all the way around the mattress, add the depth times 2 to the length and width. This would bring my measurements to 24"x30".
 |
| Please excuse the crappy paint drawn diagram :-) |
Next, I added a little bit of length so there was something to wrap around the bottom and "hang on" so the corners wouldn't always slip off. We have a deep mattress on our bed and my biggest pet peeve is when the fitted sheet says it fits deep mattresses but only rolls over by like half an inch so its constantly popping off in the middle of the night. ARGH! So, I made my "cushion" for the backside very ample. You can use your discretion about this according to the size of the item you are covering, as well as your own personal preference on the overlap needed to make it feel secure. Keep in mind that a small amount of this extra will be used to finish the raw edge and encase the elastic, so add about 1/2-3/4" to accommodate that. I decided to go with 3". So, once again, you add 3" twice to the length and width measurements, bringing my total to 30"x36". These measurements are the final dimensions of the piece of fabric we will need. Since the amount of fabric you need will depend on the size of the item you are covering, do these measurements before you buy. :-) Keep in mind that fabrics come in different widths which can help minimize the amount you will need, but how you cut the rectangle will affect which direction a pattern goes, so be aware; if you don't want stripes going a certain direction, you may need more fabric to accommodate.
Since I bought extra fabric for the Fauxby wraps that ended up not working out, I used some of that for this project. Cut out your rectangle. It helps to make multiple chalk marks on the fabric and use a straight edge to connect them and a carpenter's square (or a piece of cardboard with definitely square edges) to check your corners to make sure you are getting a rectangle instead of some other four sided polygon... Right angles are tricky. :-)
Next, take each corner and fold it in half, with right sides together (the wrong side of the fabric should be facing you), making a skinny triangle.
 |
| Step one |
 |
| Step two |
Add the measurement from the depth of the mattress and the measurement of the extra you added to warp around the back of the mattress. In my example, it is 4" (1" mattress depth, plus 3" to wrap around). From the tip of the triangle, mark that far down (4" in my example) on the rough edge of the fabric and stitch straight across the triangle at that line.
 |
| It's a little hard to see the stitching line, but it goes straight through the giraffe. |
Zig zag or stitch close to your stitching line. Trim the excess fabric above/outside the stitching line (closer to the tip of the triangle). Alternately, use a serger instead of a sewing machine to stitch the line. It trims for you :-) Repeat this entire process for each corner.
 |
| Trim the excess down to about 1/4" or so. |
Next you are ready to make the casing for the elastic. Either serge the entire raw edge of the fabric, or press up about 1/4" all the way around. Fold up the fabric by about 3/8-1/2" to create a casing for the elastic. How much you press up will depend on the width of elastic you use. It should be pretty thin, about 1/8-3/8", depending on the size of your project, but it is really up to you. I used 1/4" elastic and pressed up about 1/2" and my casing was plenty wide. Stitch the casing, leaving a small (1") opening to thread the elastic through. Using a safety pin, thread the elastic through the casing. Again, the length that you will need depends on your project size, as well as the elasticity (stretchiness) of your elastic. I just used a really long piece of elastic and when I had threaded it through, I adjusted the gathers around the mattress to what I wanted and cut the length. I am not really sure how long the piece was, so just go with what fits well for your project. Making sure there are no kinks in the elastic, stitch the ends together securely. Close up the opening in your casing, and you are done! It should look something like this.

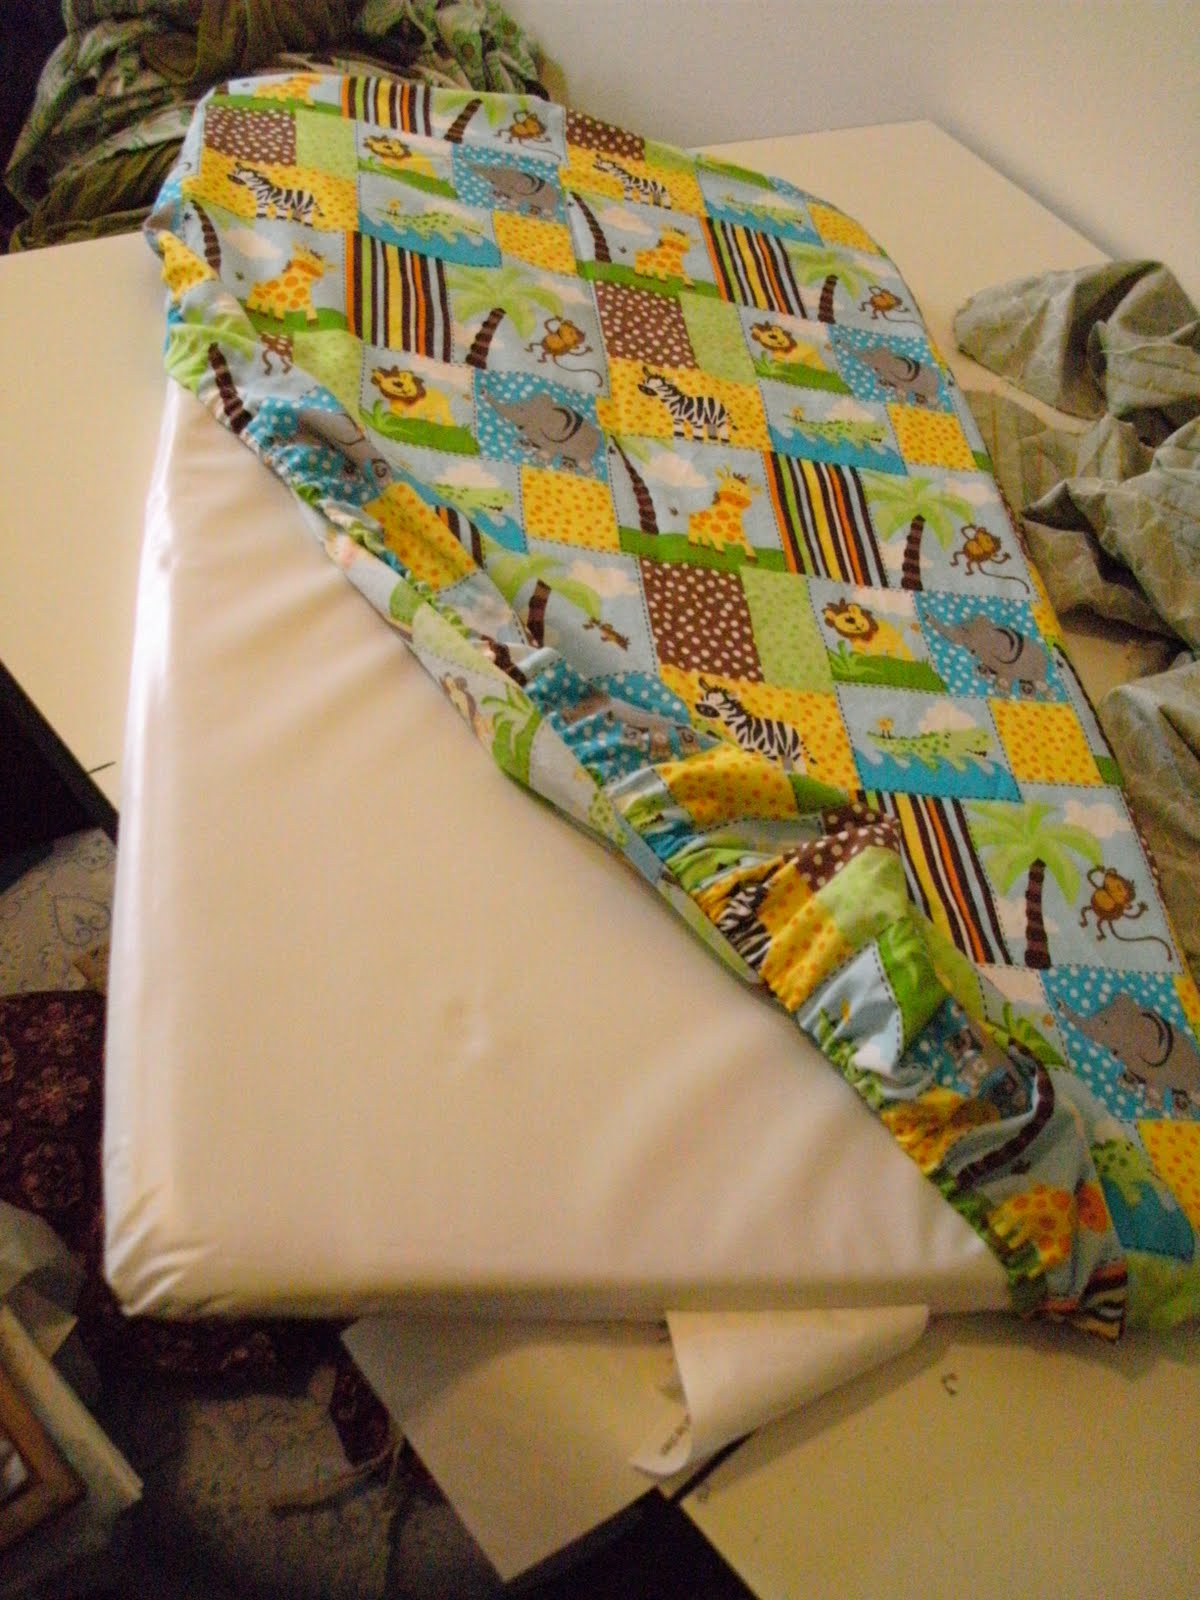
Put it on your mattress/item and revel in your amazingness!

Bottom Line:
Fabric: less than 1 yard @ $5/yd = $5
Elastic: less than 1 roll @ ~$2/roll = $2 (honestly, I used scrap materials from an old project so I hate adding this to my total cost. I have had it for YEARS and not used it...)
Total cost = less than $7
Time = about 1 1/2 hours, give or take.
Retail = not available
Savings = well, in this case, priceless... I couldn't buy a changing table cover for this item!
Next up: the OTHER pattern for a bassinet sheet... ohhh ahhh....
Thank-you for such a simple pattern and explanation, this beginner sewer feels a little less intimidated by this task now.
ReplyDeleteSo glad I could be of help! If you have any questions be sure to let me know!
Delete